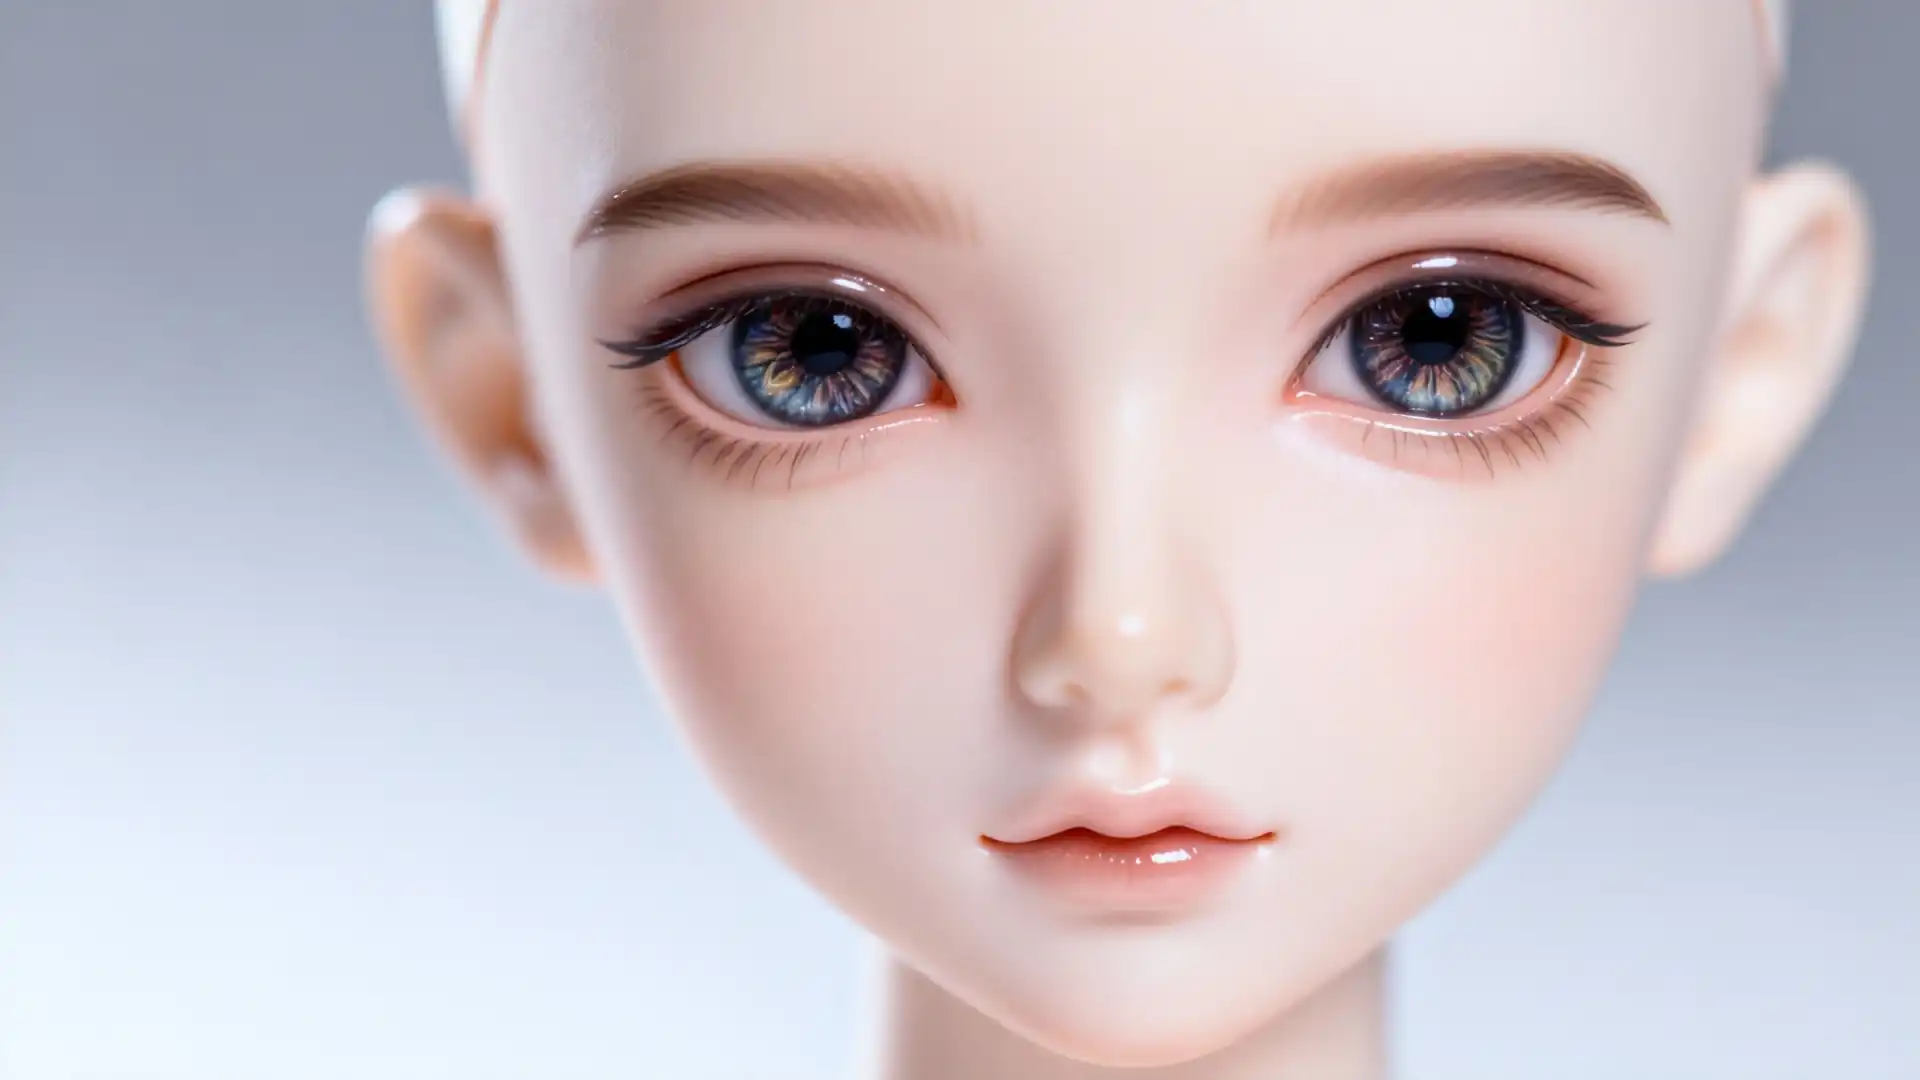
A shallow eye well can leave even the most beautiful BJD looking vacant. BJD eye well modification—the precise customization of the eye socket—is the key to unlocking a deeper, profoundly expressive gaze. As part of comprehensive BJD customization This 15-year veteran’s guide will show you how to achieve it safely.
Why Modify the Eye Well? Beyond Just Fitting Eyes
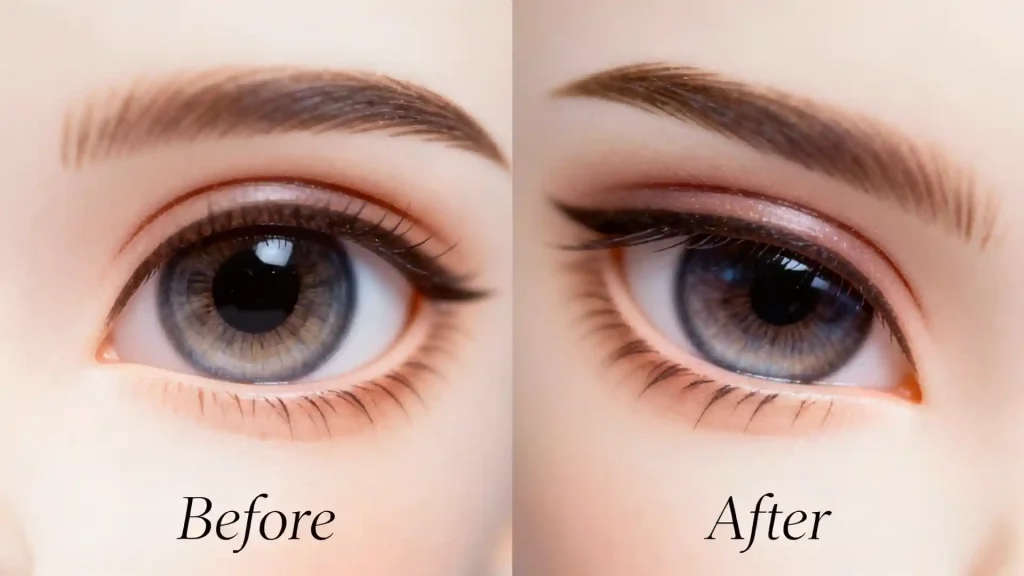
Many BJD enthusiasts find their dolls’ eyes appear shallow, flat, or even lifeless, despite using beautiful eye chips. This often stems from the limitations of standard eye wells, which are designed for a generic fit rather than a truly expressive one.
Modifying the eye well allows for custom BJD eye placement, enabling you to angle the eyes just so, creating a deeper, more soulful look. This subtle adjustment can dramatically enhance your doll’s character and bring their personality to life, moving beyond a mere “stare.”
Before You Begin: Essential Tools and Honest Assessment
Embarking on BJD eye well modification requires patience, the right tools, and a realistic understanding of the process. Rushing or using incorrect tools can lead to irreversible damage.
Essential Tools for Safe Modification
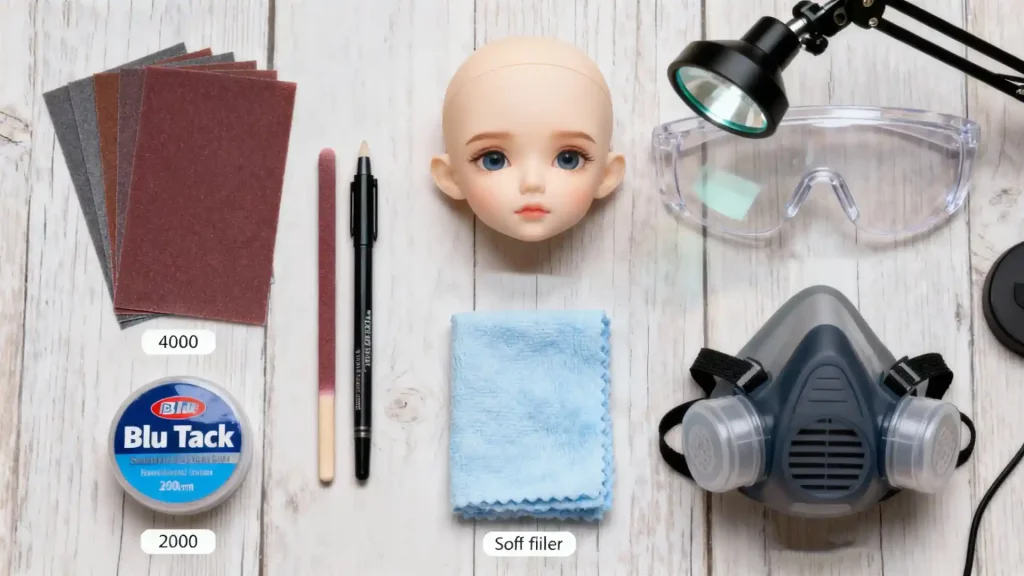
Here’s what you’ll need to get started safely:
- Sandpaper: A variety of grits, from coarser (e.g., 400-600 grit) for initial shaping to very fine (e.g., 1500-2000 grit) for polishing. Wet/dry sandpaper is highly recommended.
- Handheld Sanding Sticks/Files: Small, precise tools for reaching tight curves within the eye well. After years of trying various brands, I’ve found that Brand A’s pen-style sanding sticks are far superior for navigating the curved inner walls of an eye well compared to Brand B’s flatter designs. Their tapered tips allow for much more controlled material removal.
- Blu Tack (or similar removable adhesive putty): Essential for temporary eye placement and testing.
- Soft Cloths/Microfiber Wipes: For cleaning dust and testing fit.
- Dust Mask: To protect against resin dust inhalation.
- Safety Goggles: To protect your eyes from flying particles.
- Magnifying Lamp (Optional but Recommended): For detailed work and inspection.
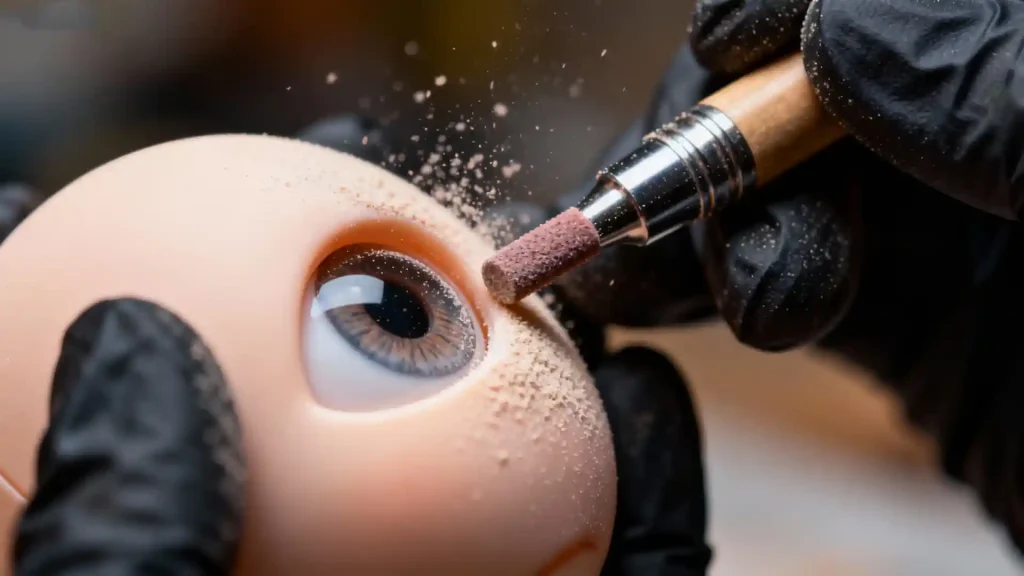
Warning: Absolutely avoid high-speed rotary tools like Dremels for BJD eye modification for beginners. These tools generate excessive heat, which can melt or warp the resin, and their speed makes precise control extremely difficult, leading to irreparable damage. Your doll’s safety is paramount, emphasizing BJD eye modification safety.
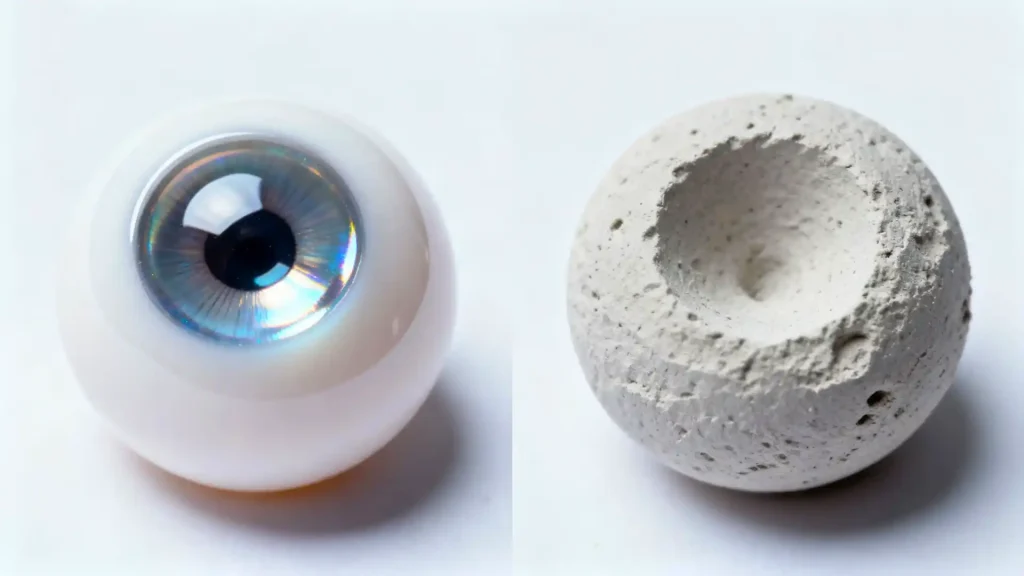
Assessing Your Doll’s Eye Wells
Before any modification, take time to understand your doll’s unique anatomy.
- Resin Type and Thickness: Different resins have varying hardness and characteristics. For example, Dollfie Dream (DD) resin is typically softer and more flexible; while easier to sand, it can produce more “fuzz” or burrs, requiring extra attention during polishing. In contrast, some Korean company’s hard resins feel more brittle, demanding caution against micro-fractures during sanding.
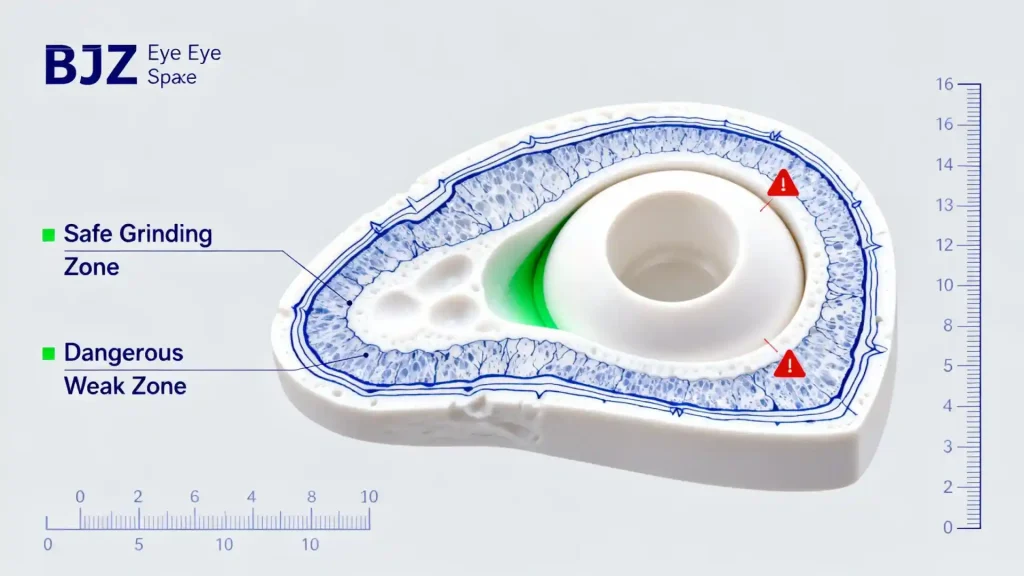
- Identify the “Safe Grinding Zone”: This is the thicker, inner part of the eye well. Avoid the “Dangerous Weak Zone” – the thin, delicate rim of the eye socket, which is prone to cracking or chipping. I once had to work on an older, very thin-rimmed SD head. My method was to use only 2000-grit sandpaper or finer, dry sanding exclusively, and never introducing any liquids. This minimized stress on the fragile resin and prevented swelling or weakening.
- Determine Your Goal: Are you aiming for a minor BJD eye well depth adjustment or a more significant BJD eye socket customization? This will guide your approach.
The Step-by-Step Safe Modification Tutorial
This section will guide you through the core process of how to deepen BJD eye wells safely and effectively. This is your comprehensive BJD eye well tutorial.
H3: Step 1: Planning and Marking Your Desired Gaze
The first crucial step is visualizing the outcome. Use the Blu Tack test method to temporarily secure your chosen eye chips. Experiment with different angles and depths. Observe your doll from various perspectives to find that perfect “gaze point.”
My experience has taught me that this initial planning phase is where most people rush. I once started sanding without a clear vision, only to realize later that I’d removed material in the wrong spot, making the eyes look perpetually surprised. Take photos from multiple angles with the eyes in place; it helps you see subtle shifts you might miss in person.
H3: Step 2: The Gradual Removal Process – Patience is Key
Warning: Always work slowly and deliberately. Removing too much material is irreversible.
Begin with a medium-grit sandpaper (e.g., 600-800 grit) to gently remove material from the back and sides of the eye well. Focus on the areas that prevent the eye from sitting deeper or at your desired angle. This gradual, controlled approach is the heart of safe BJD resin sanding techniques, where patience truly pays off.
- Key Experience: My experience is, after every 30 seconds of sanding, I wipe away the dust with a clean cloth and re-test the eye chip with Blu Tack. This prevents you from over-sanding – a costly mistake I made early on, resulting in an eye that sat too far back and looked sunken. It’s all about precise BJD eye well depth adjustment.
- Gradually move to finer grits (1000-1500) as you approach your desired depth and shape. The goal is to create a smooth, even surface that allows the eye to sit snugly.
H3: Step 3: Refining and Polishing for a Flawless Finish
Once you’ve achieved the desired depth and angle, it’s time to refine the surface. Use very fine sandpaper (1500-2000 grit, or even higher) to smooth out any sanding marks. This BJD eye well polishing step is vital for two reasons: it ensures the eye chip sits perfectly flush without any bumps, and it prevents any rough edges from potentially scratching the eye chip over time.
- Key Experience: I once skipped the final polishing, thinking the rough surface wouldn’t matter since it was hidden. Later, I noticed a faint scratch on the back of an expensive, hand-painted glass iris eye chip – a scratch that was impossible to repair. Since then, I consider inner wall polishing to be as critical as the initial sanding, a non-negotiable step to protect your investment.
H3: Step 4: Final Fitting and Sealant Application (Optional)
Carefully install your eye chips. Check the fit and expression from all angles. For securing the eyes, Blu Tack is excellent for temporary or semi-permanent placement, allowing for easy adjustments. Museum wax is another popular option, offering a slightly firmer hold. Avoid super glue or other permanent adhesives, as they make future eye changes or adjustments impossible.
When to Seek Professional Help: BJD Eye Modification Services
Still unsure if you should DIY? Ask yourself: Does my project involve only deepening the existing well, or does it require enlarging the opening, changing its shape, or repairing damage? If it’s the latter, professional modification services are your safest path. While this guide empowers you to make safe modifications, there are instances where professional BJD eye modification services are the wisest choice.
If your doll requires significant structural changes, such as drastically enlarging the eye opening, correcting severe asymmetry, or repairing existing damage, attempting it yourself carries high risk. These complex tasks often require specialized tools and expertise beyond basic BJD eye well customization tips.
When seeking a professional, ask about their experience, see examples of their work, and inquire about their methods. A reputable artist will be transparent about the process and potential risks.
Frequently Asked Questions (FAQ)
Q: I’m scared of damaging my doll. What’s the absolute safest method?
A: The absolute safest method involves extreme patience and the Blu Tack test method at every micro-step. Use only manual sanding tools, starting with very fine grits, and remove material in tiny increments. Always prioritize BJD eye modification safety by working slowly and stopping if you feel unsure. Remember, you can always remove more, but you can’t put it back.
Q: Can I use this method on all BJD sizes?
A: Yes, the principles apply to all BJD sizes (YoSD, MSD, SD, etc.). However, the scale of your tools and the amount of pressure you apply will differ. For smaller dolls like YoSD, you’ll need even finer, more precise sanding sticks and a much lighter touch. For larger SDs, you might use slightly larger tools, but the gradual approach remains critical.
Q: My doll’s eyes still look crooked after modification. What did I do wrong?
A: This is a common issue! It often stems from uneven sanding, where one side of the eye well is deeper or shaped differently than the other, or from initial marking that wasn’t perfectly symmetrical. To remedy this, re-evaluate with the Blu Tack test method. You might need to carefully remove a tiny bit more material from the higher side. Alternatively, thin eye pads (small pieces of felt or foam) can be placed behind the eye chip to subtly adjust its angle and correct minor crookedness without further sanding.
Q: How do I modify eye wells on a doll with inset acrylic eyes (like some Dollfie Dream heads)?
A: This is a fundamentally different process! For dolls with inset acrylic eyes, you are typically modifying the back of the acrylic eye piece itself, or the inner structure that holds it, not the resin eye well. Attempting to sand the resin eye well of a doll designed for inset eyes can cause irreparable damage to the head’s structure and the fit of the acrylic eye. If you wish to adjust the gaze of an inset eye, you’d usually be looking at shimming the eye from behind or, in more advanced cases, carefully modifying the acrylic eye’s backing. Always research your specific doll type thoroughly before proceeding.
Q: Can I use water with my sandpaper to reduce dust?
A: While wet sanding can reduce airborne dust, it comes with caveats for BJD resin. Mixing water with resin dust can create a paste-like residue that is difficult to clean and can sometimes get trapped in the resin’s pores. More importantly, prolonged exposure to water can potentially affect some resins, leading to swelling or discoloration over time, especially with older or more porous types. I generally recommend dry sanding with a good dust mask and frequent wiping, or using a small vacuum cleaner with a brush attachment to manage dust.
Q: What’s the best way to light the workspace for this kind of detail work?
A: Proper lighting is crucial for detail work. I highly recommend using a bright LED lamp with a color temperature of 5000K or higher (often labeled “daylight”). This neutral white light minimizes color distortion and helps reduce eye strain. Position the light to minimize shadows within the eye well, ideally from multiple angles or with an adjustable gooseneck lamp. A magnifying lamp can also be invaluable for seeing the fine details of your sanding.
Q: I over-sanded and the eye is now too loose. Is there any fix?
A: This is a common and frustrating mistake, but there are potential fixes, though they require extreme caution. For minor looseness, you can try applying a very thin layer of diluted UV resin or clear nail polish to the inner surface of the eye well. Apply it sparingly with a fine brush, allow it to cure/dry completely, and then test the fit. You’re essentially building up a microscopic layer to increase friction. This is an advanced repair and should be done with utmost care, as too much can make the eye well too tight or create an uneven surface. If the over-sanding is significant, it might be best to consult a professional.
Embarking on BJD eye well modification is a journey of patience and precision. Start small, build your confidence, and remember that safety and a gentle hand are your best tools for achieving that truly deep, expressive gaze you envision for your beloved BJD.
BJD Customization & Maintenance Series
- Your 2025 BJD Faceup Tutorial: A Pro’s Guide to Soulful Art
- How to String a BJD: A Veteran’s No-Nonsense Guide
- Pristine Resin: How to Clean a BJD Doll The Right Way
- BJD Customization: The Ultimate Guide to Personalizing Your Doll
- BJD Body Blushing: The Alchemist’s Guide to Skin That Breathes
- Make BJD Doll Eyes: An Alchemist’s Guide to Painting Soulful Gaze
- BJD Wig Styling Mastery: The Ultimate Care, Cutting & Customization Guide
- The Ultimate BJD Clothing Guide: Design, Patterns & Fit
- Ultimate BJD Storage Guide: Beat Yellowing with Pro Display Ideas
- BJD Faceup Pricing Guide: Unpacking Custom Eye Chips & Lip Blushing Costs
- Bringing Them Back to Life: Your Guide to BJD Restoration Service for Broken Fingers & Yellowed Resin
- BJD Stringing Kits: DIY Tightening for Stable, Pro Posing
- BJD Customization Services: Faceup & Full Body Blushing Guide
- BJD Body Modification: Sculpting Your Doll‘s Unique Form (2025 Guide)
- Mastering BJD Seam Sanding: A Pro’s Guide to Flawless Resin Finishes
- BJD Joint Maintenance: Keeping Your Doll Posing Perfectly for Years
- BJD Eye Well Modification: Achieving Deeper, More Expressive Gaze (You are here)
- Mastering Advanced BJD Faceups: Beyond Basics to Lifelike Artistry
- BJD Resin Whitening & Anti-Yellowing: A Collector’s Proven Guide to Preserve Beauty
- BJD Stringing Tension Guide: Optimizing Posing & Stability
- BJD Magnet Installation: The Ultimate Safety Guide to Unlocking Dynamic Posing