Hello, fellow artists and dreamers. Welcome to The Doll Salon.
For over a decade, I’ve lived by a simple philosophy: Hair is not a doll’s accessory; it is its character’s declaration and the opening chapter of its story. I’ve seen a doll with a perfectly neutral, almost blank expression, be transformed in an instant. A cascade of soft, white curls, and she becomes a fragile moon goddess. The same face, crowned with a sharp, asymmetrical black bob, and she is a cyberpunk renegade. The hair tells us who they are before we even know their name.
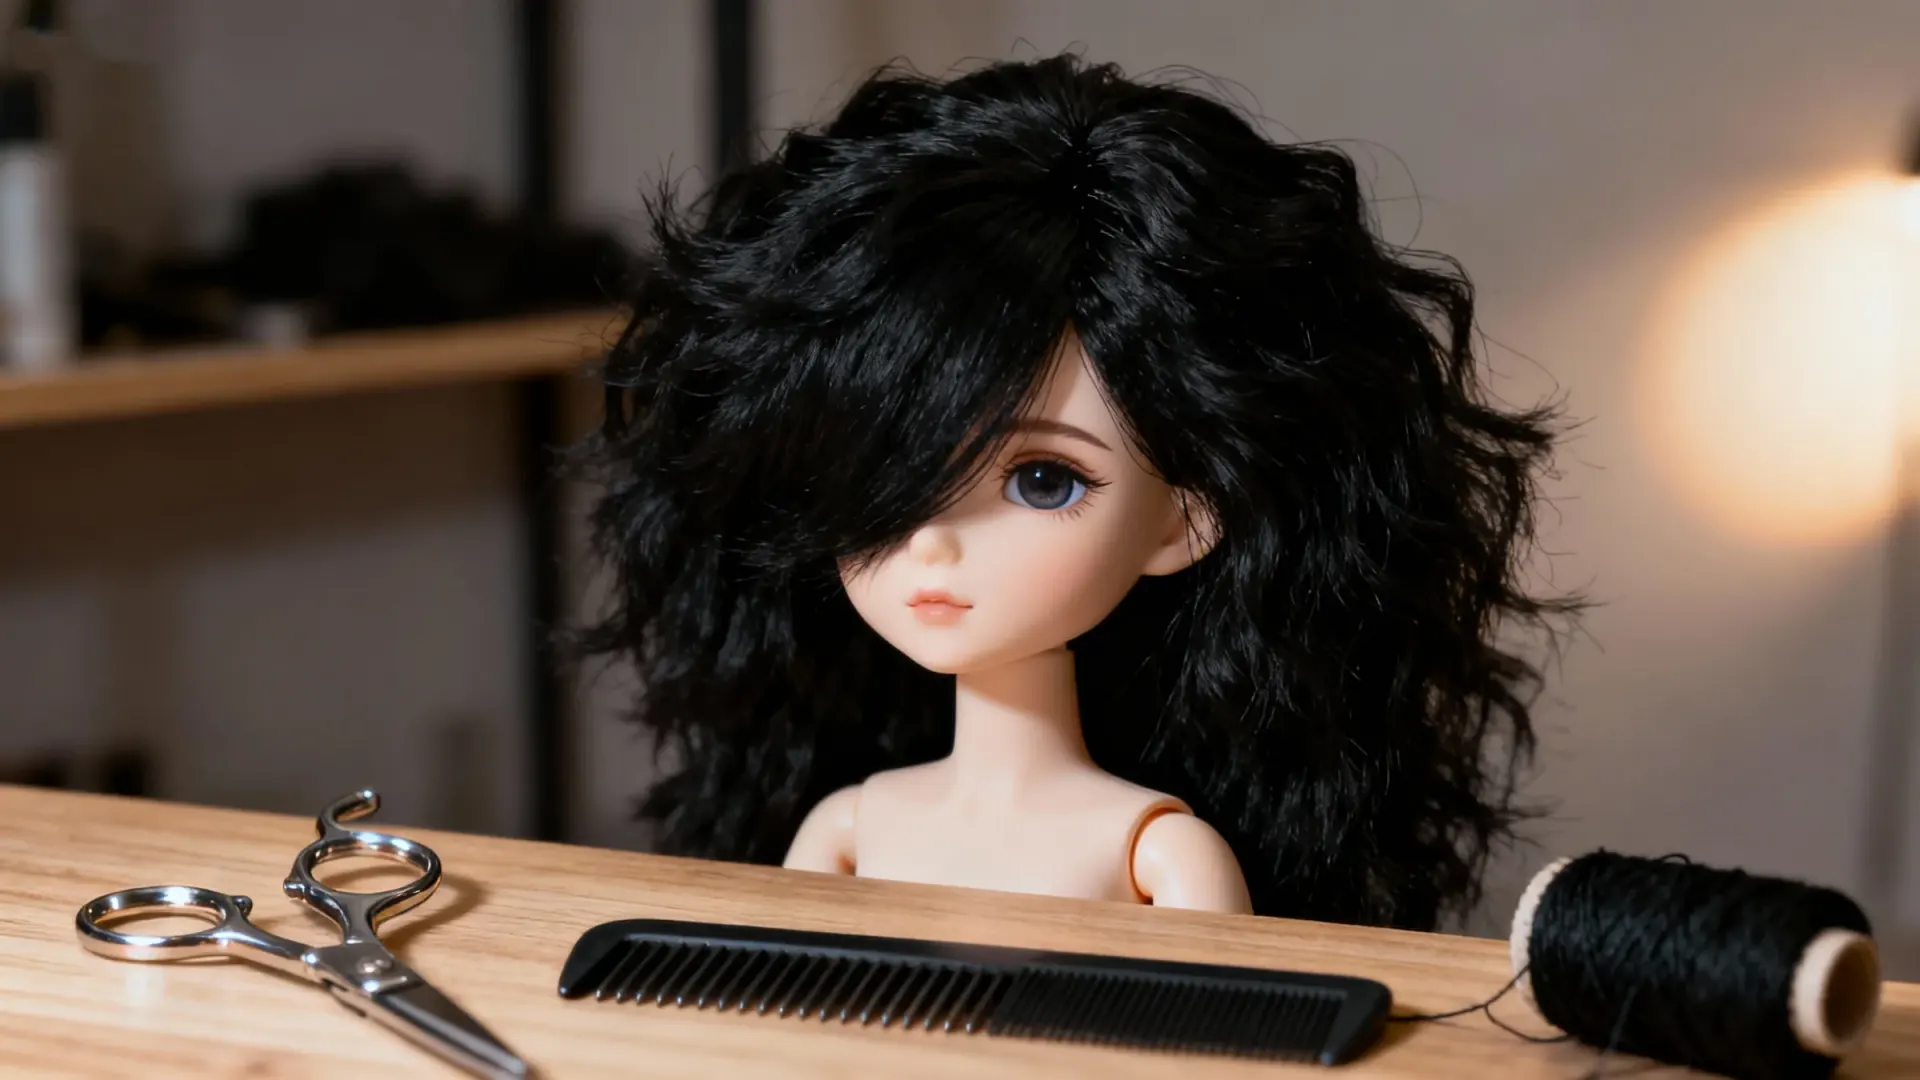
I’ll never forget Kael, a doll in my collection who was perpetually overlooked. He had a handsome but unremarkable sculpt that just didn’t seem to inspire. For months, he sat on the shelf, a beautiful but silent statue. One evening, I decided his story needed to be written. I discarded his simple brown wig and spent hours creating a custom style: a deeply layered, raven-black shag cut that fell artfully over one eye. The moment I placed it on his head, Kael was born. He was no longer just a doll; he was a brooding poet, a creature of twilight and untold secrets. He instantly became the magnetic center of my collection, all because his hair finally spoke his truth.
This is the power you are about to unlock. This guide is my promise to you. By the time you finish reading, you will have the knowledge and confidence to move beyond being a doll owner and become your doll’s exclusive, trusted hairstylist. Let’s begin.
The Consultation: Knowledge Before Action
Every great styling session begins not with scissors, but with understanding. Before you touch a single fiber, you must diagnose your materials and your needs. This is the foundation of all successful and damage-free work.
Fiber Forensics: Choosing Your Medium
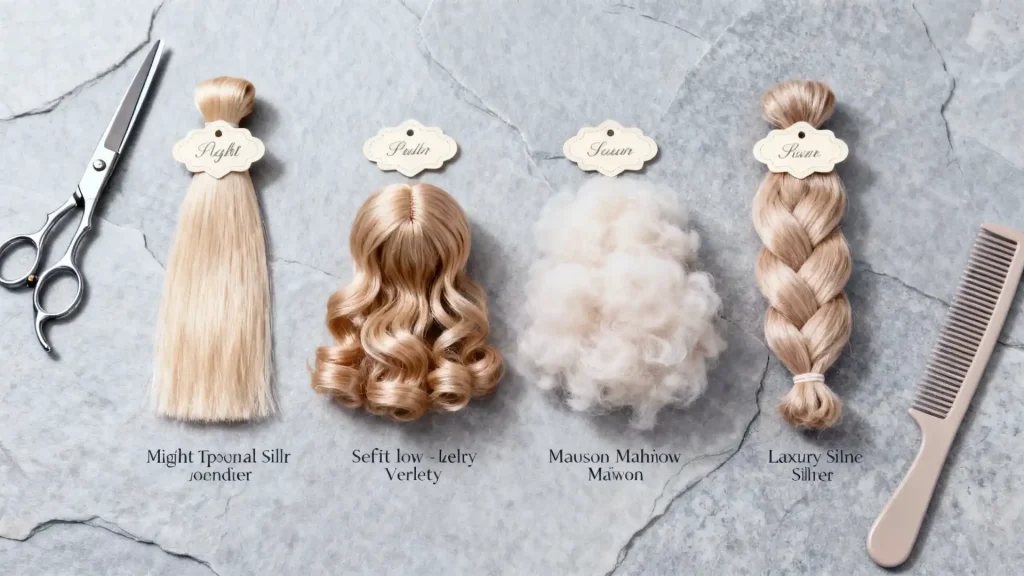
The material of your wig dictates everything: how you wash it, how you style it, and how it will feel to the touch. Understanding these four main fiber types is non-negotiable. It’s the difference between creating a masterpiece and causing a meltdown.
| Feature | Heat-Resistant Synthetic | Low-Temp Synthetic (Kanekalon) | Mohair | Silk |
|---|---|---|---|---|
| Heat Resistance | High (up to 350°F/175°C) | Very Low (melts easily) | Moderate (can be gently heat-styled) | Moderate (can be gently heat-styled) |
| Luster | Varies; can be matte to shiny | Often has a distinct, plastic-like shine | Soft, natural, low-sheen | Extremely high, luxurious sheen |
| Feel | Smooth, can feel slightly “plasticky” | Soft, but can be prone to static | Extremely soft, fluffy, fine, “cloud-like” | Incredibly smooth, fine, slippery |
| Styling Potential | Excellent; holds curls & styles well | Best for non-heat styles (braids, updos) | Beautiful for natural, fluffy, or antique looks | Best for sleek, straight, or gently waved styles |
| Price | $$ (Mid-range) | $ (Most affordable) | $$$ (Expensive) | $$$$ (Most expensive) |
| Maintenance | Moderate; can tangle but is durable | High; tangles very easily | High; very delicate and prone to frizz/matting | Very High; extremely delicate, stains easily |
The Takeaway: Choose your fiber based on the character’s story. A rugged adventurer might suit a durable, matte heat-resistant wig. A delicate fae creature comes to life with the ethereal fluff of mohair. A high-fashion model demands the liquid shine of silk. Know your material, and you’ll know its potential.
The Perfect Fit: A Scientific Approach to Sizing
Nothing ruins a beautiful silhouette faster than an ill-fitting wig. It’s the most common and most frustrating problem for new collectors. A wig that’s too large will slip, create a bulky “helmet” look, and expose the wig cap. A wig that’s too small will constantly pop off, potentially scraping your doll’s delicate face-up in the process.
How to Measure for a Perfect Fit:
- Use a soft, flexible tailor’s tape measure.
- Gently wrap the tape around your doll’s head, following its natural hairline. The tape should go across the forehead, just above the ears, and around the fullest part of the back of the head.
- Ensure the tape is snug but not tight.
- Read the measurement in both inches and centimeters, as different wig makers use different standards.
BJD Wig Cap Size Chart (General Guide)
| Size (Inches) | Size (cm) | Common Doll Scale |
|---|---|---|
| 3-4″ | 8-10 cm | Lati Yellow, Pukifee |
| 5-6″ | 13-15 cm | YoSD, Tiny Delf |
| 6-7″ | 15-18 cm | MSD, Minifee, Unoa |
| 7-8″ | 18-20 cm | Large MSD, Small SD |
| 8-9″ | 20-23 cm | Standard SD, SD13, Dollfie Dream |
| 9-10″ | 23-25 cm | Large SD, SD17, some 70cm+ |
The Salon Regimen: Preservation as Creation
The most effective styling technique is, without a doubt, proper maintenance. A well-cared-for wig is always ready for its close-up. Think of this not as a chore, but as a meditative ritual that preserves the beauty and longevity of your investment.
The Art of Detangling: A Gentle Hand
Tugging at knots is a cardinal sin. It stretches, breaks, and frizzes the fibers. The professional method is patient and precise.
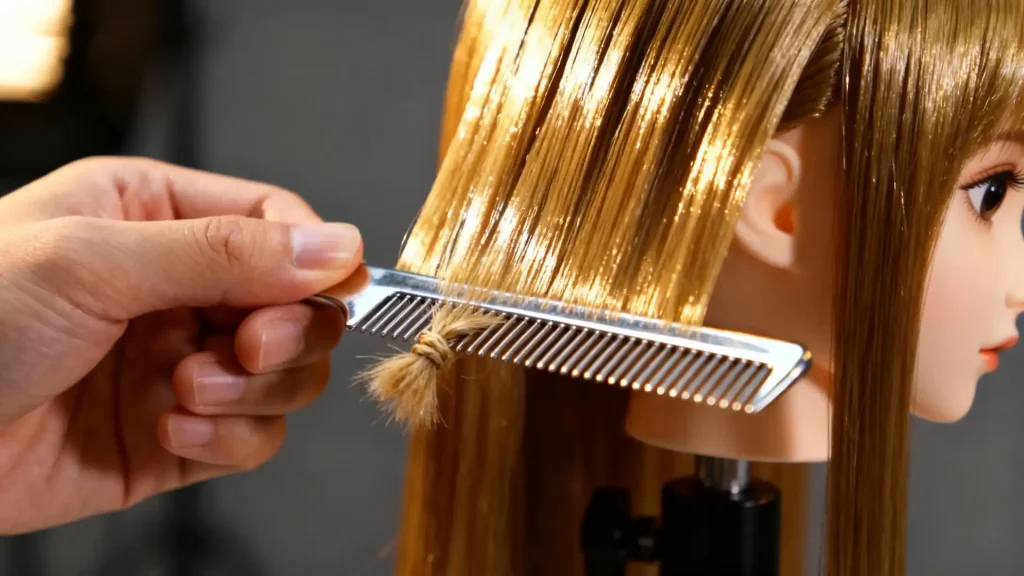
- The Golden Rule: Always comb from the tips to the roots. Start by gently working through the last inch of the hair. Once that’s clear, move up another inch, and so on, until you reach the wig cap. This prevents you from tightening knots by pulling them down the hair shaft.
- The Right Tools: Your fingers are your first and best tool for gently separating large tangles. Follow up with a wide-tooth comb for general detangling and an anti-static metal comb (like a greyhound comb) for smoothing. Never use a brush with balled tips, as they will snag and rip the fibers.
- The Sectioning Method: For a severely tangled wig, don’t try to tackle the whole thing at once. Use clips to divide the hair into four to six manageable sections. Detangle one section completely before moving on to the next. This focused approach prevents you from becoming overwhelmed and ensures every fiber is treated with care.
The Cleansing Ritual: A Step-by-Step Guide
Washing a BJD wig is like a spa treatment. It revives, cleanses, and restores. Here’s the complete process.
- Preparation: Fill a basin with cold water. Why cold? Hot water can relax the style in heat-resistant wigs and permanently damage or melt low-temp fibers. Cold water helps seal the fiber’s “cuticle,” reducing frizz and protecting its structure. Add a small squirt of a gentle, sulfate-free shampoo (baby shampoo is excellent).
- The Wash: Submerge the wig fully. Do not rub, scrub, or agitate it. Instead, gently squeeze and pulse the suds through the fibers with your hands. Treat it like fine lace.
- The Rinse: Drain the soapy water and refill the basin with clean, cold water. Submerge the wig again, gently squeezing until all the soap is gone. Repeat if necessary.
- The Conditioning (Optional but Recommended): For synthetic wigs, a tiny amount of fabric softener in a final cold water rinse can work wonders for softness. For natural fibers like mohair or silk, a specialized wig conditioner is best. Let it sit for a few minutes, then give it a final, thorough rinse.
- The Drying: Gently squeeze out excess water. Never wring or twist the wig. Lay it flat on a clean, dry towel and pat it gently. Then, place it on a wig stand or an appropriate-sized bottle to air dry completely, away from direct sunlight or heat.
Quick Tip: The Dryer Sheet Hack
If you’re in a pinch and dealing with sudden static before a photo, a temporary fix is to gently wipe an unscented dryer sheet down the length of the hair. However, this is an emergency measure, not a long-term care solution. The chemicals on the sheet can build up on the fibers over time. The professional standard is to use a dedicated anti-static spray for wigs.
The Transformation: From Technician to Artist
This is where the magic happens. With a solid foundation of care, we can now begin to sculpt. This is the moment you transition from caretaker to creator.
The Arsenal: Investing in the Right Tools
Put down the kitchen scissors. A professional stylist is only as good as their tools. For wig cutting, you need two key items:
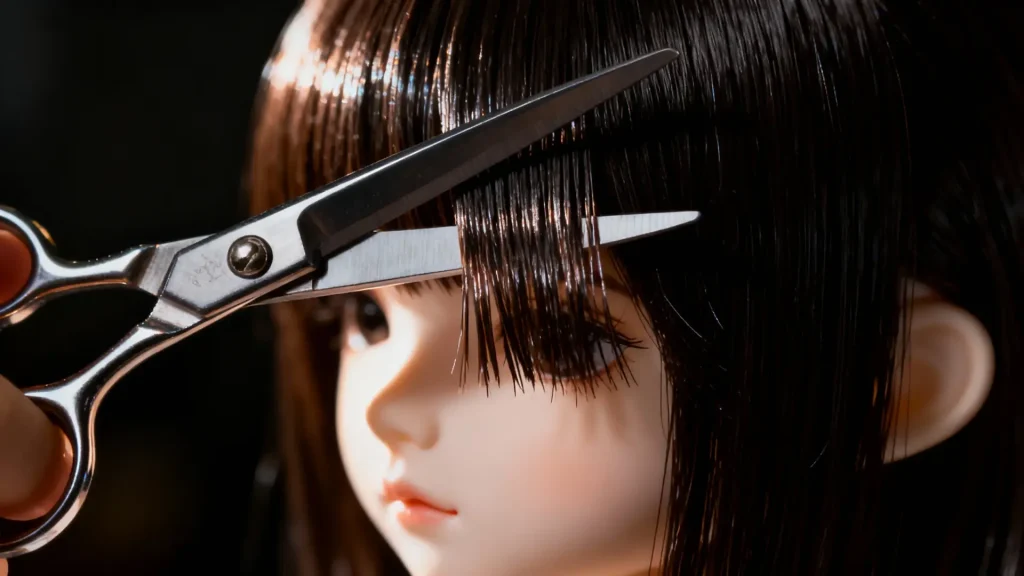
- Professional Hair Shears: These are made of high-quality steel and are hollow-ground to a razor-sharp edge. They slice through the fiber cleanly. Regular scissors crush and chew the fiber, creating split ends and a blunt, frayed look.
- Thinning/Feathering Shears: These shears have teeth on one blade. They are essential for removing bulk, softening harsh lines, and creating natural-looking layers and texture.
The Foundation Cut: Mastering Shape & Texture
Always cut a wig while it is on the doll’s head and securely fastened. This ensures the length and layers fall correctly relative to the doll’s features.
- Trimming Bangs & Ends: Never cut straight across. This is the number one mistake beginners make. Instead, hold the scissors vertically and use the “point cutting” technique. Snip into the ends of the hair at a slight angle. This creates a soft, textured, and much more realistic edge. Cut less than you think you need to; you can always take more off, but you can’t put it back on.
- Creating Layers: Use your thinning shears to add subtle layers. Comb a section of hair up and away from the head, and snip into the mid-lengths once or twice with the thinning shears. This removes weight without sacrificing length, allowing the hair to have more movement and shape.
Salon Alert: The “Blunt Cut” Disaster
If you’ve accidentally cut a harsh, blunt line into your wig’s bangs or ends, don’t panic. Your thinning shears are the emergency fix. Go back over the blunt line, snipping into it at an angle with the thinning shears. This will break up the solid line and instantly soften the look.
Thermal Styling: The Power of Controlled Heat
This section applies only to heat-resistant wigs. Always check your wig’s material first.
- Temperature is Key: Start low and go slow. I recommend a starting temperature of 200-250°F (95-120°C). You can always increase the heat slightly if needed, but you can’t undo melted fibers.
- Technique:
- For Curls: Wrap a small section of hair around a curling iron. Hold for 5-10 seconds. Here’s the crucial part: slide the curl off the iron into your hand and hold it in its coiled shape (or clip it) until it cools completely. Synthetic fiber sets its shape as it cools, not while it’s hot.
- For Straightening: Work in small, thin sections. Pass the flat iron over the hair in one smooth, continuous motion. Don’t let it sit in one spot.
Salon Alert: The Melt Test
Before you touch a hot tool to your precious wig, perform a safety test. Snip a tiny, unnoticeable piece of fiber from the inside of the wig cap. Hold it with tweezers and touch your pre-heated styling tool to it for a few seconds. If it sizzles, smokes, or melts, your tool is too hot.
Beyond the Basics: Braids, Texture & Hold
- Elegant Braids: A simple fishtail braid can look incredibly intricate. Split a section of hair into two. Take a tiny piece from the outside of the left section, cross it over, and add it to the inside of the right section. Then, take a tiny piece from the outside of the right section, cross it over, and add it to the inside of the left. Repeat. The smaller the pieces, the more detailed the braid.
- Product Perfection: Avoid human hair products, especially those containing alcohol or heavy oils, which can degrade fibers and be difficult to wash out. Opt for water-soluble styling waxes or mousses designed for wigs. They provide a light, natural-looking hold and can be easily rinsed out with cold water.
The Grand Finale: Secure & Damage-Free Installation
The most stunning hairstyle is worthless if it won’t stay put. But glues and harsh adhesives are a thing of the past. Our goal is maximum security with zero risk to the doll’s resin or face-up.
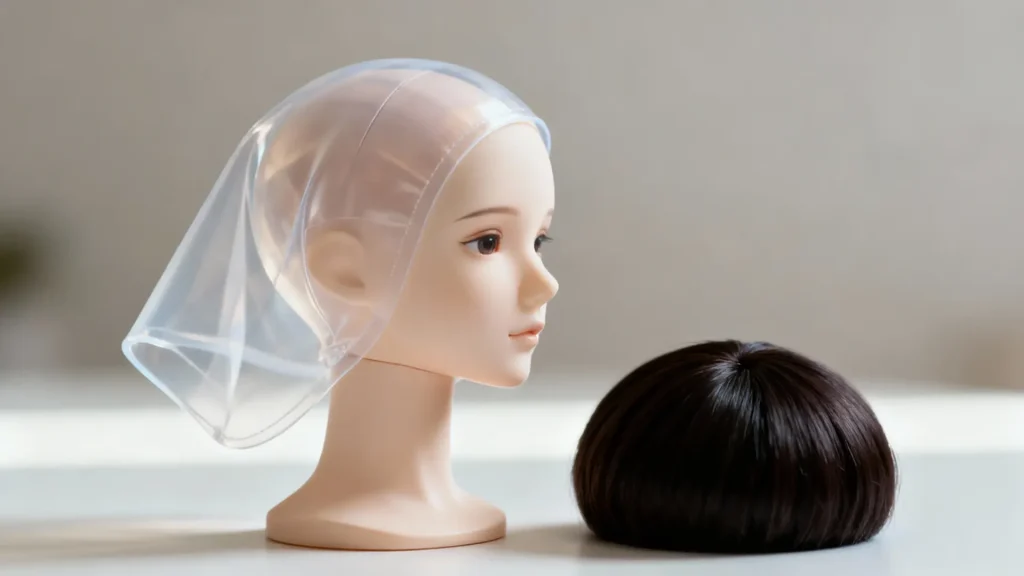
- The Gold Standard: Silicone Wig Caps. This is my number one recommendation and the first thing I tell any new collector to buy. These thin, clear caps are worn on the doll’s head underneath the wig. They provide three essential benefits:
- Grip: The slightly tacky surface of the silicone prevents the wig from slipping.
- Stain Prevention: It creates a barrier that stops dark wig caps from staining your doll’s head.
- Face-up Protection: It protects the sealant and blushing around the hairline from abrasion.
- BJD Wig Glue Alternatives:
- Double-Sided Tape (Fashion Tape): Good for short-term security. Should you find sticky residue after removal, use a cotton swab dipped in a small amount of isopropyl alcohol or a dedicated adhesive remover. Gently rub the area in circles until the residue dissolves, then wipe it away. Always follow up by wiping the area with a clean, water-dampened cloth to remove any solvent.
- Museum Putty / Blue Tack: Excellent for precise positioning. However, be warned: the oils in the putty can, over a long period, seep into and stain light-colored resin. For long-term display, a safe technique is to first place a small piece of plastic wrap on your doll’s head, then press the putty onto the wrap. This creates a perfect barrier, preventing any oil from ever touching the resin.
- Small Hair Pins / Forks: Useful for securing updos or pinning a wig to a silicone cap for extra hold. Be extremely careful not to scratch the doll’s head or face-up.
Advanced Technique: Creating a Realistic Part Line
To elevate the realism of a wig’s part line, you can tint the fabric base. Using a fine-tipped brush or a pointed cotton swab, apply a small amount of model-grade acrylic paint or pigment powder that closely matches your doll’s resin color. Gently color the fabric of the part line. This is a permanent modification, so work carefully and allow it to dry completely before placing the wig on the doll to avoid any color transfer.
The Wig ER: A First-Aid Clinic for Hair Disasters
Even the most experienced of us face hair emergencies. I’ll never forget the heartbreaking Japanese silk wig I ruined—it had the color of moonlight. When I was still a novice, I used my brother-in-law’s recommended strong-hold human hair gel. The result was a disaster. Not only did it become a sticky, immovable mess, but the fibers lost their beautiful, soft luster, as if covered in a dull film. That expensive mistake taught me the most important lesson: a doll’s wig is a unique world, demanding its own specialized products and ultimate patience.
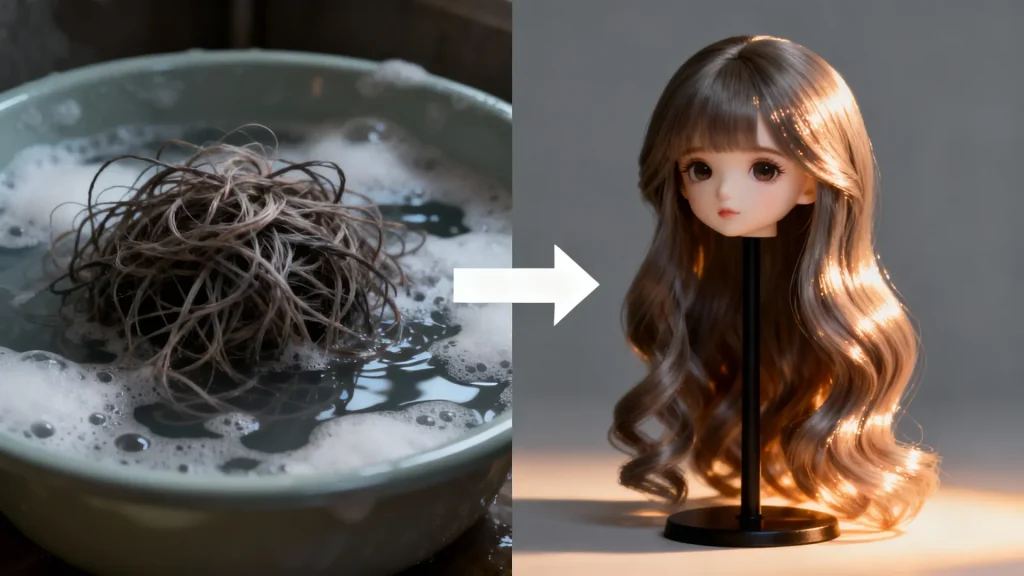
Q: “My second-hand wig is a matted, tangled mess. Is it hopeless?”
A: The Diagnosis & The Cure: The wig is suffering from extreme friction and neglect, but it is almost never hopeless. This requires a “deep conditioning” treatment.
- Manual Detangling: Do not put it in water yet! First, patiently work through the worst of the mats with your fingers.
- The Soak: Fill a basin with cool water and a generous amount of fabric softener (for synthetics) or wig conditioner (for natural fibers). Let the wig soak for at least an hour, or even overnight for severe cases.
- The Comb-Out: While the wig is still in the water and saturated with conditioner, begin detangling with a wide-tooth comb, following the “tip to root” rule. The conditioner will provide “slip” and help the knots release.
- Rinse & Dry: Once fully detangled, rinse thoroughly with cold water and dry as described in the Cleansing Ritual. It will be reborn.
Q: “I used the wrong product and now the wig feels sticky/greasy. How can I fix it?”
A: The Diagnosis & The Cure: You have product buildup that a normal shampoo can’t cut through. You need a clarifying wash.
- The Clarifying Agent: In a basin of cool water, mix in a few drops of a gentle, clear dish soap (like original blue Dawn). It is formulated to cut through grease and oil without being overly harsh.
- The Wash: Gently wash the wig in the soapy solution, focusing on the sticky areas. You should feel the residue breaking down.
- The Double Rinse: It is critical to rinse every trace of the dish soap out. Rinse at least twice with clean, cold water.
- Restore Softness: Follow up immediately with a light conditioning treatment (as described in the Cleansing Ritual) to restore any lost softness. Then, air dry. The wig will feel clean and light again.
You now hold the keys to the salon. You have the knowledge to diagnose, the regimen to preserve, the techniques to transform, and the emergency skills to rescue. Remember my philosophy. Every time you pick up a comb or a pair of scissors, you are not just styling hair—you are breathing life into a character, you are telling a story.
Now go, and create something beautiful.
BJD Customization & Maintenance Series
- Your 2025 BJD Faceup Tutorial: A Pro’s Guide to Soulful Art
- How to String a BJD: A Veteran’s No-Nonsense Guide
- Pristine Resin: How to Clean a BJD Doll The Right Way
- BJD Customization: The Ultimate Guide to Personalizing Your Doll
- BJD Body Blushing: The Alchemist’s Guide to Skin That Breathes
- Make BJD Doll Eyes: An Alchemist’s Guide to Painting Soulful Gaze
- BJD Wig Styling Mastery: The Ultimate Care, Cutting & Customization Guide (You are here)
- The Ultimate BJD Clothing Guide: Design, Patterns & Fit
- Ultimate BJD Storage Guide: Beat Yellowing with Pro Display Ideas
- BJD Faceup Pricing Guide: Unpacking Custom Eye Chips & Lip Blushing Costs
- Bringing Them Back to Life: Your Guide to BJD Restoration Service for Broken Fingers & Yellowed Resin
- BJD Stringing Kits: DIY Tightening for Stable, Pro Posing
- BJD Customization Services: Faceup & Full Body Blushing Guide
- BJD Body Modification: Sculpting Your Doll‘s Unique Form (2025 Guide)
- Mastering BJD Seam Sanding: A Pro’s Guide to Flawless Resin Finishes
- BJD Joint Maintenance: Keeping Your Doll Posing Perfectly for Years
- BJD Eye Well Modification: Achieving Deeper, More Expressive Gaze
- Mastering Advanced BJD Faceups: Beyond Basics to Lifelike Artistry
- BJD Resin Whitening & Anti-Yellowing: A Collector’s Proven Guide to Preserve Beauty
- BJD Stringing Tension Guide: Optimizing Posing & Stability
- BJD Magnet Installation: The Ultimate Safety Guide to Unlocking Dynamic Posing