Breathing Life into Resin
Ten years ago, I held my first ball-jointed doll. It was a stunning piece of resin engineering, perfectly sculpted and blankly beautiful. But it felt… incomplete. It was a vessel, waiting. That evening, with a scrap of silk from my mother’s old scarf and a clumsy needle, I fashioned a simple wrap dress. As I draped the fabric over its shoulders, something magical happened. A character began to emerge. The blankness was replaced by a story, a hint of a personality. It was no longer just a doll; it was a presence.
That was the moment Studio Papillon was born, founded on a single, unwavering philosophy: “We are not sewing fabric; we are crafting shells for souls.”
This guide is the culmination of a decade spent living that philosophy. We won’t just be sewing seams; we will be exploring character, mastering fit, and learning to see fabric not as a material, but as a medium for storytelling. This is your masterclass in BJD Clothing and doll customization.
By the end of this guide, you will not only master a bjd clothing size guide and the fundamentals of sewing, but you will also adopt a designer’s mindset to create garments full of character and life.
The Designer’s Mindset: Before the First Cut
The most common mistake beginners make is rushing to the sewing machine. The most beautiful pieces of BJD Clothing are born long before a needle is threaded. They are born in the imagination. This is where we separate the seamstress from the designer.
Storytelling Through Style
Your doll is not a mannequin. It is a character. Before you even think about fabric, ask yourself: Who are they?
- Are they a melancholic poet from the 19th century? Perhaps they need flowing linen shirts, high-waisted trousers, and a worn velvet waistcoat.
- Are they a cyberpunk hacker from Neo-Tokyo? Think asymmetrical cuts, technical fabrics, faux leather, and straps with buckles.
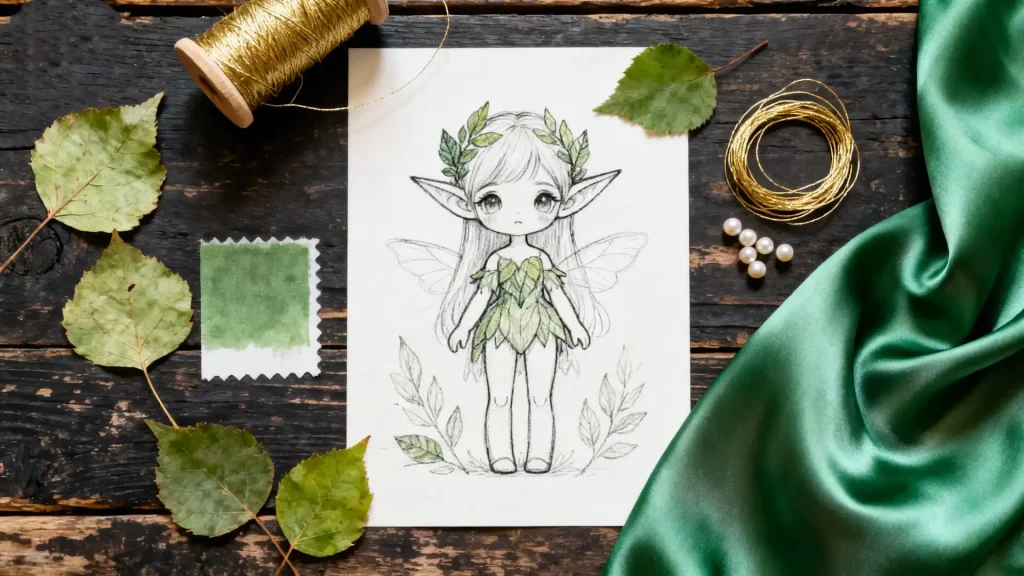
- Are they a whimsical forest spirit? Their wardrobe might consist of layered, leaf-like silks, earthy tones, and delicate, hand-beaded details.
Create a small mood board. Gather images that evoke their personality—landscapes, art, historical fashion, architecture. This isn’t just a fun exercise; it’s the professional process of building a cohesive collection. When you have a clear story, your design choices become intentional and powerful. The garment becomes an extension of their soul.
The Power of Silhouette & Scale
Once you have a story, you can think about form. In the world of miniature fashion, two concepts are paramount: silhouette and scale.
Silhouette is the overall shape of the outfit. It’s the first thing the eye registers. A simple A-line skirt says something very different from a dramatic, floor-length mermaid gown. Start by sketching basic shapes on a simple outline of your doll. Do you want to create a soft, rounded silhouette, or a sharp, angular one?
Scale is the secret to realism. This is where many beginners falter. A floral print that looks lovely on a human-sized dress can look like a giant, abstract blob on a 1/3 scale doll. The same goes for buttons, zippers, and even the texture of the fabric itself. Just as in haute couture, where every detail is scrutinized for its proportion to the human form, in 1/3 scale sewing, we must do the same for the doll’s form. Always ask: “If this were a real person, would the print/button/zipper be this large?” The goal is to trick the eye into believing in the miniature world you are creating.
The Blueprint: Mastering Fit & Fabric
With a design concept in mind, we can move to the technical foundation of your garment: the blueprint. This stage is all about precision, knowledge, and choosing the right materials to bring your vision to life.
The Ultimate BJD Clothing Size Guide
A chart of numbers is just a starting point. True fit is about movement and drape. This is what I call “dynamic fit.” While a standard bjd clothing size guide is essential for online shopping or using commercial patterns, learning to measure your specific doll is a skill that will set you free.
Basic Measurements You’ll Need:
- Height
- Chest/Bust
- Waist
- Hips (at the widest point)
- Shoulder Width (from joint to joint)
- Arm Length (from shoulder to wrist)
- Inseam (from crotch to ankle)
- Thigh and Calf Circumference
Here is a very general reference table. Always measure your own doll! Brands and even sculpts within the same brand can vary wildly.
| Size | Scale | Approx. Height | Common Brands |
|---|---|---|---|
| SD | 1/3 | 55-65 cm | Volks, Luts, Dollfie Dream |
| MSD | 1/4 | 40-45 cm | Fairyland, Luts, Dollzone |
| YoSD | 1/6 | 25-30 cm | Lati Yellow, Volks YoSD |
| Tiny | 1/12 | 10-15 cm | Pukifee, Lati White |
Beyond the Numbers: “Breathing Room”
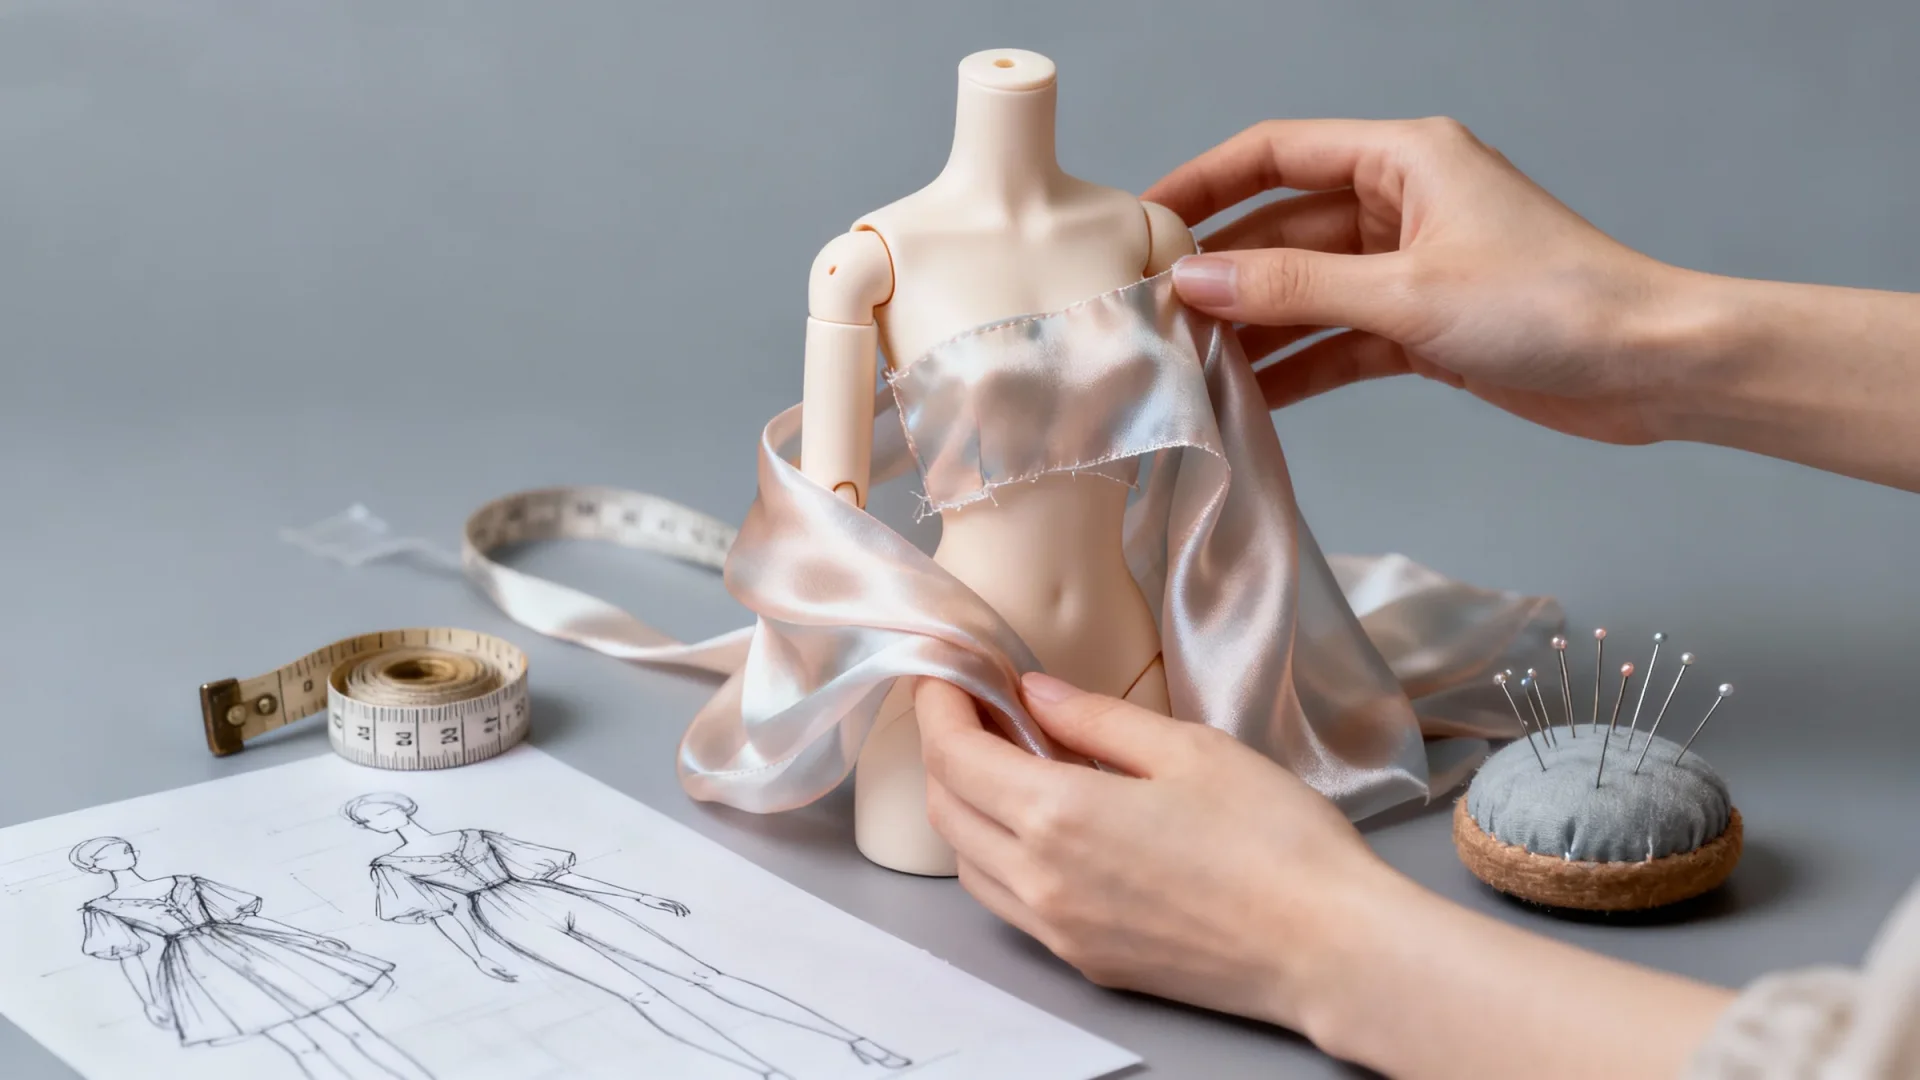
Never draft a pattern to the exact measurements of your doll. A garment needs “breathing room” or “ease” to look realistic. For a simple shirt, add at least 1-2 cm to the chest and waist circumference. For a flowing skirt, the sky’s the limit. Drape a piece of fabric on your doll. See how it falls. The space between the doll’s body and the fabric is what gives the garment life and movement.
Finding the Best Fabric for BJD Doll Clothes
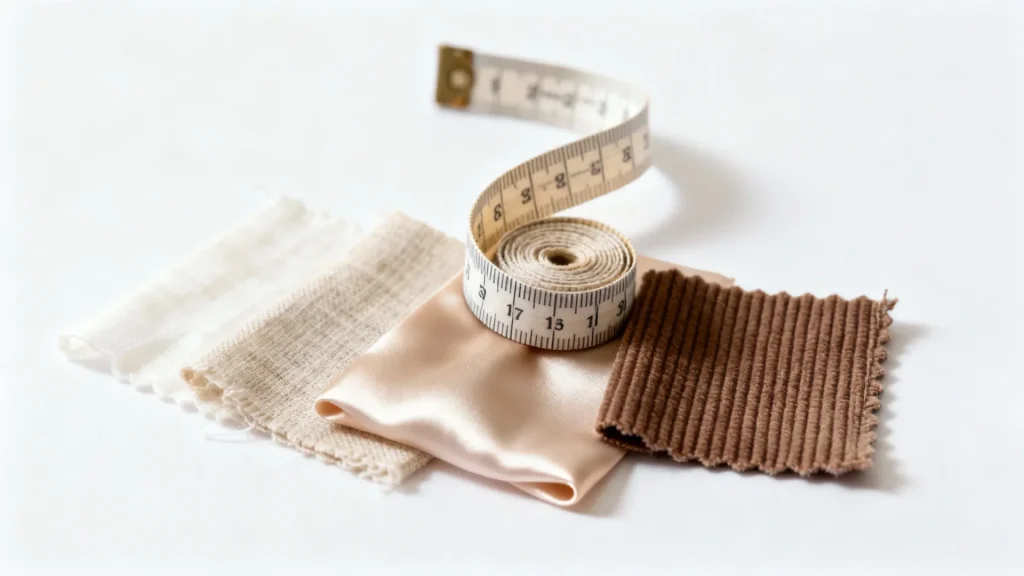
Choosing the best fabric for bjd doll clothes is an art. The key is “drape”—how a fabric hangs under its own weight. In miniature, this property is magnified. A stiff fabric will stick out awkwardly, shattering the illusion of scale.
Highly Recommended Fabrics for Beginners:
- Cotton Lawn/Voile: Lightweight, tightly woven, and drapes beautifully. It’s like a miniature version of high-quality shirting. It holds a press well and is relatively easy to sew.
- Lightweight Linen: Perfect for historical or casual looks. It has a lovely texture that adds realism, but be prepared for it to fray.
- Silk Charmeuse or Habotai: For luxurious gowns or blouses. The drape is unparalleled, but it can be slippery and difficult to work with. Not for your very first project, but something to aspire to.
- Fine-wale Corduroy or Lightweight Denim: Excellent for realistic pants and jackets. Ensure the texture is in scale.
Fabrics to Avoid (at first):
- Standard Quilting Cotton: Usually too stiff and the prints are often too large.
- Thick Polyester or Felt: These have almost no drape and will make your doll’s clothes look like cardboard.
- Stretchy Knits: While useful, knits require different techniques (like a zig-zag stitch) to avoid puckering and can be frustrating for a beginner.
【Designer’s Note】: “Always, before you buy, take a corner of the fabric and scrunch it up in your fist. When you release it, observe the wrinkles. Are they fine, soft, and numerous? Or are they large, stiff, and sparse? The fabric will behave the same way on your doll. Trust the scrunch test more than anything else.”
The Atelier: Your First DIY Project
Welcome to the workshop. This is where theory becomes reality. We will start simply, building your confidence and skills one stitch at a time.
The No-Sew & Low-Sew Path for Beginners
Don’t have a sewing machine? Don’t let that stop you. Creativity finds a way.
- Fabric Glue: A high-quality glue like Fabri-Tac can create surprisingly durable “seams.” It’s perfect for simple tube tops, no-fray fabric skirts, or attaching trim.
- Socks to Tights: A pair of human-sized patterned knee-high socks can be instantly transformed into BJD tights or leggings. Just cut the foot off, and hem the top and bottom (or use an anti-fray liquid like Fray Check).
- Ribbon Wraps: Wide silk ribbons can be wrapped and tied to create elegant Greco-Roman style tops and dresses.
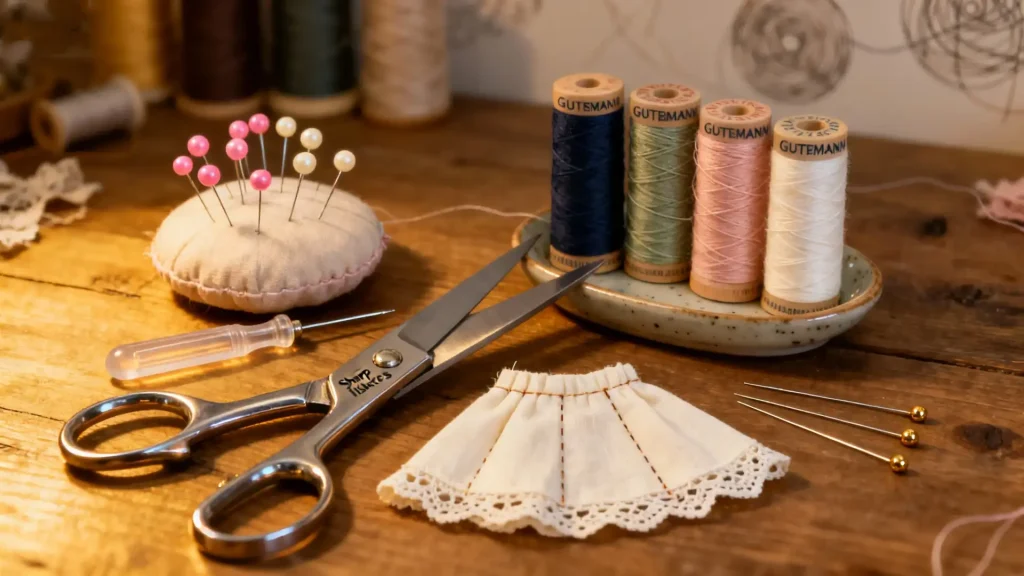
The Essential Sewing Toolkit
Investing in a few quality tools will save you immense frustration. You don’t need everything, but you do need the right things.
- Sharp Scissors: This is non-negotiable. You need two pairs: a larger pair of fabric shears (Fiskars is a reliable brand) that are only used for fabric, and a small, sharp pair of embroidery or thread snips for detail work and cutting threads.
- Fine Needles: For hand sewing, get a variety pack of “sharps.” For machine sewing, use a size 60/8 or 70/10 universal needle for most lightweight fabrics.
- Good Quality Thread: Don’t use cheap, fuzzy thread. It will break and cause tension problems. Gutermann or Coats & Clark are excellent all-purpose choices.
- Seam Ripper: You will make mistakes. A good seam ripper is your best friend.
- Measuring Tape: A soft, flexible tailor’s tape.
- Pins: Get the finest pins you can find. Silk pins or extra-fine quilting pins work well.
- Iron: A small craft iron is ideal, but your regular household iron will work. Pressing your seams as you go is the secret to a professional finish.
Your First Stitches: The A-Line Skirt
This project is the perfect entry point. It teaches you measuring, pattern drafting, straight seams, and finishing. This is how to make bjd doll clothes in its most fundamental form.
Step 1: The Pattern
This is one of the simplest bjd sewing patterns for beginners.
- Measure your doll’s waist circumference. Let’s say it’s 12cm.
- Decide on the desired skirt length. Let’s say 10cm.
- On a piece of paper, draw a trapezoid.
- The top edge should be half your waist measurement plus 1cm for ease (12/2 + 1 = 7cm).
- The bottom edge should be wider for the “A” shape. Let’s make it 12cm.
- The height of the trapezoid is your desired length plus 1.5cm for the hem and waistband (10 + 1.5 = 11.5cm).
- Add a 0.5cm seam allowance around the two side edges. Cut out your paper pattern.
Step 2: Cutting the Fabric
- Press your fabric.
- Fold your fabric in half, and place the pattern piece on top. Pin it securely.
- Cut out two identical pieces of fabric. You now have the front and back of your skirt.
Step 3: Sewing the Skirt
- Place the two fabric pieces with their “right” sides facing each other.
- Pin along the two side seams.
- Using a sewing machine or hand-stitching (with a simple backstitch), sew the two side seams, maintaining your 0.5cm seam allowance.
- Press the seams open with your iron. This is a critical step!
Step 4: The Waistband and Hem
- For the top (waistband), fold the edge down by 0.5cm towards the inside and press. Fold it down again by another 0.5cm to encase the raw edge, and press. Stitch along the bottom of this fold to create a clean waistband.
- Do the same for the bottom hem. Fold up 0.5cm, press. Fold up another 0.5cm, press, and stitch.
- For a closure, you can hand-sew a small snap, a hook-and-eye, or even a tiny piece of Velcro to the back opening of the waistband.
【Designer’s Note】: “After sewing the side seams, look at the raw edges inside. You can use pinking shears (zigzag scissors) to trim them and prevent fraying. For a truly high-end finish, learn the ‘French Seam’ technique. It’s a two-step process that completely encloses the raw edge within a seam. It makes the inside of the garment as beautiful as the outside—a true mark of quality.”
Your Next Challenge: The Bodice
Once you’ve mastered the A-line skirt, the natural next step is a simple bodice, which is the foundation for shirts, dresses, and jackets.
- Start with Draping: Instead of complex flat-pattern drafting, try draping fabric directly on your doll. Use masking tape to mark the neckline, armholes, and side seams. This intuitive method helps you understand how 2D fabric becomes a 3D form.
- Learn about Darts: Darts are small, triangular folds sewn into a garment to help it conform to the body’s curves, especially around the bust. Mastering them is key to creating fitted tops.
- Practice Set-in Sleeves: This is often considered a milestone skill. It involves sewing a separate sleeve piece into the armhole of the bodice. Take it slow, use lots of pins, and celebrate your success!
The Mending Room: Troubleshooting Common Sewing Disasters
Every designer has a “mending room” for fixing mistakes. When your BJD Clothing project hits a snag, don’t get discouraged; get solutions. Here are answers to the most common beginner cries for help.
Q: My machine is creating tangled nests of thread on the bottom of my fabric! What’s happening?
A: This is the dreaded “bird’s nest” and it’s almost always caused by incorrect top threading. Take the top thread completely out of the machine. Raise the presser foot (this opens the tension discs). Rethread the machine carefully, following your manual’s diagram exactly. 99% of the time, this solves the problem.
Q: My fabric keeps getting sucked down into the machine when I start sewing!
A: This happens with very fine or delicate fabrics. The feed dogs are pulling the fabric into the needle plate hole before the stitch can form. The solution is to use a “leader.” Start sewing on a small, folded scrap of the same fabric. Once you’ve sewn a few stitches on the scrap, feed your actual project piece right up behind it without stopping. The machine will transition smoothly onto your project.
Q: My seams look puckered and wavy, especially on thin fabric.
A: This can be a few things. First, your needle might be too large or dull; try a new, smaller needle (size 60/8). Second, your top thread tension might be too tight; try lowering it slightly. Third, you might be gently pulling or stretching the fabric as you sew. Let the machine’s feed dogs do all the work; your job is simply to guide the fabric.
The Finishing Touches: Shoes & Accessories
The outfit is the body, but the accessories are the punctuation. They complete the statement and are a vital part of any BJD’s wardrobe.
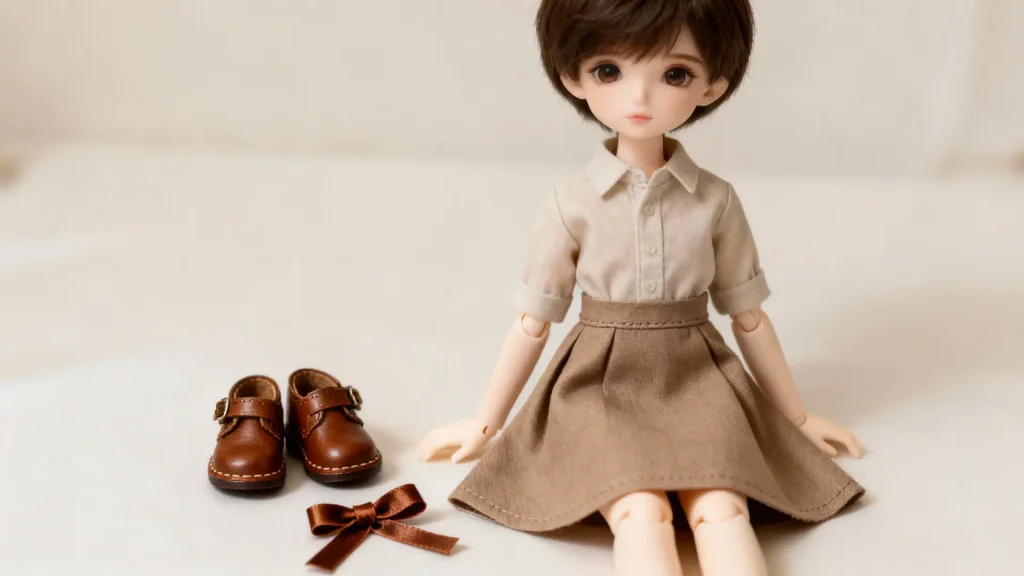
A proper bjd shoe fitting guide is less about brand and more about millimeters.
- Measure, Measure, Measure: Use a ruler to measure your doll’s foot length and width in millimeters (e.g., 75mm long, 30mm wide).
- Check Seller Descriptions: Reputable online sellers will almost always list the internal length and width of their shoes. Do not trust “SD size” or “MSD size” alone.
- Mind the Shape: A doll with a high arch or wide foot may not fit into a shoe that is technically the right length. Look at the shape of the shoe and compare it to your doll’s foot. When in doubt, contact the seller with your doll’s measurements.
Quick & Creative Accessories:
- Belts: A thin strip of faux leather or a beautiful ribbon makes an instant belt.
- Jewelry: Use beading wire, fine chain, and small beads or charms from a craft store to create necklaces and bracelets.
- Scarves: A small rectangle of chiffon or silk with hemmed edges makes a perfect, versatile scarf.
Conclusion: Your Journey Begins
We began with a blank, beautiful vessel. Now, you hold the knowledge to craft its shell. You understand that a garment’s story begins in the heart, not under the needle. You have the blueprint for creating a perfect fit and the skills to stitch it into reality.
The path of a designer is one of perpetual learning. Your first skirt may not be perfect. Your first bodice may be a challenge. It does not matter. You have taken the most important step: you have begun to translate the soul of your doll into the language of fabric, color, and form. You have breathed life into resin.
Now, go forth and dress the souls waiting in your resin companions.
BJD Customization & Maintenance Series
- Your 2025 BJD Faceup Tutorial: A Pro’s Guide to Soulful Art
- How to String a BJD: A Veteran’s No-Nonsense Guide
- Pristine Resin: How to Clean a BJD Doll The Right Way
- BJD Customization: The Ultimate Guide to Personalizing Your Doll
- BJD Body Blushing: The Alchemist’s Guide to Skin That Breathes
- Make BJD Doll Eyes: An Alchemist’s Guide to Painting Soulful Gaze
- BJD Wig Styling Mastery: The Ultimate Care, Cutting & Customization Guide
- The Ultimate BJD Clothing Guide: Design, Patterns & Fit (You are here)
- Ultimate BJD Storage Guide: Beat Yellowing with Pro Display Ideas
- BJD Faceup Pricing Guide: Unpacking Custom Eye Chips & Lip Blushing Costs
- Bringing Them Back to Life: Your Guide to BJD Restoration Service for Broken Fingers & Yellowed Resin
- BJD Stringing Kits: DIY Tightening for Stable, Pro Posing
- BJD Customization Services: Faceup & Full Body Blushing Guide
- BJD Body Modification: Sculpting Your Doll‘s Unique Form (2025 Guide)
- Mastering BJD Seam Sanding: A Pro’s Guide to Flawless Resin Finishes
- BJD Joint Maintenance: Keeping Your Doll Posing Perfectly for Years
- BJD Eye Well Modification: Achieving Deeper, More Expressive Gaze
- Mastering Advanced BJD Faceups: Beyond Basics to Lifelike Artistry
- BJD Resin Whitening & Anti-Yellowing: A Collector’s Proven Guide to Preserve Beauty
- BJD Stringing Tension Guide: Optimizing Posing & Stability
- BJD Magnet Installation: The Ultimate Safety Guide to Unlocking Dynamic Posing